

[Surprisingly easy!] Adding studs to a business bag
Hello!
This is Nakajima from HushTug.
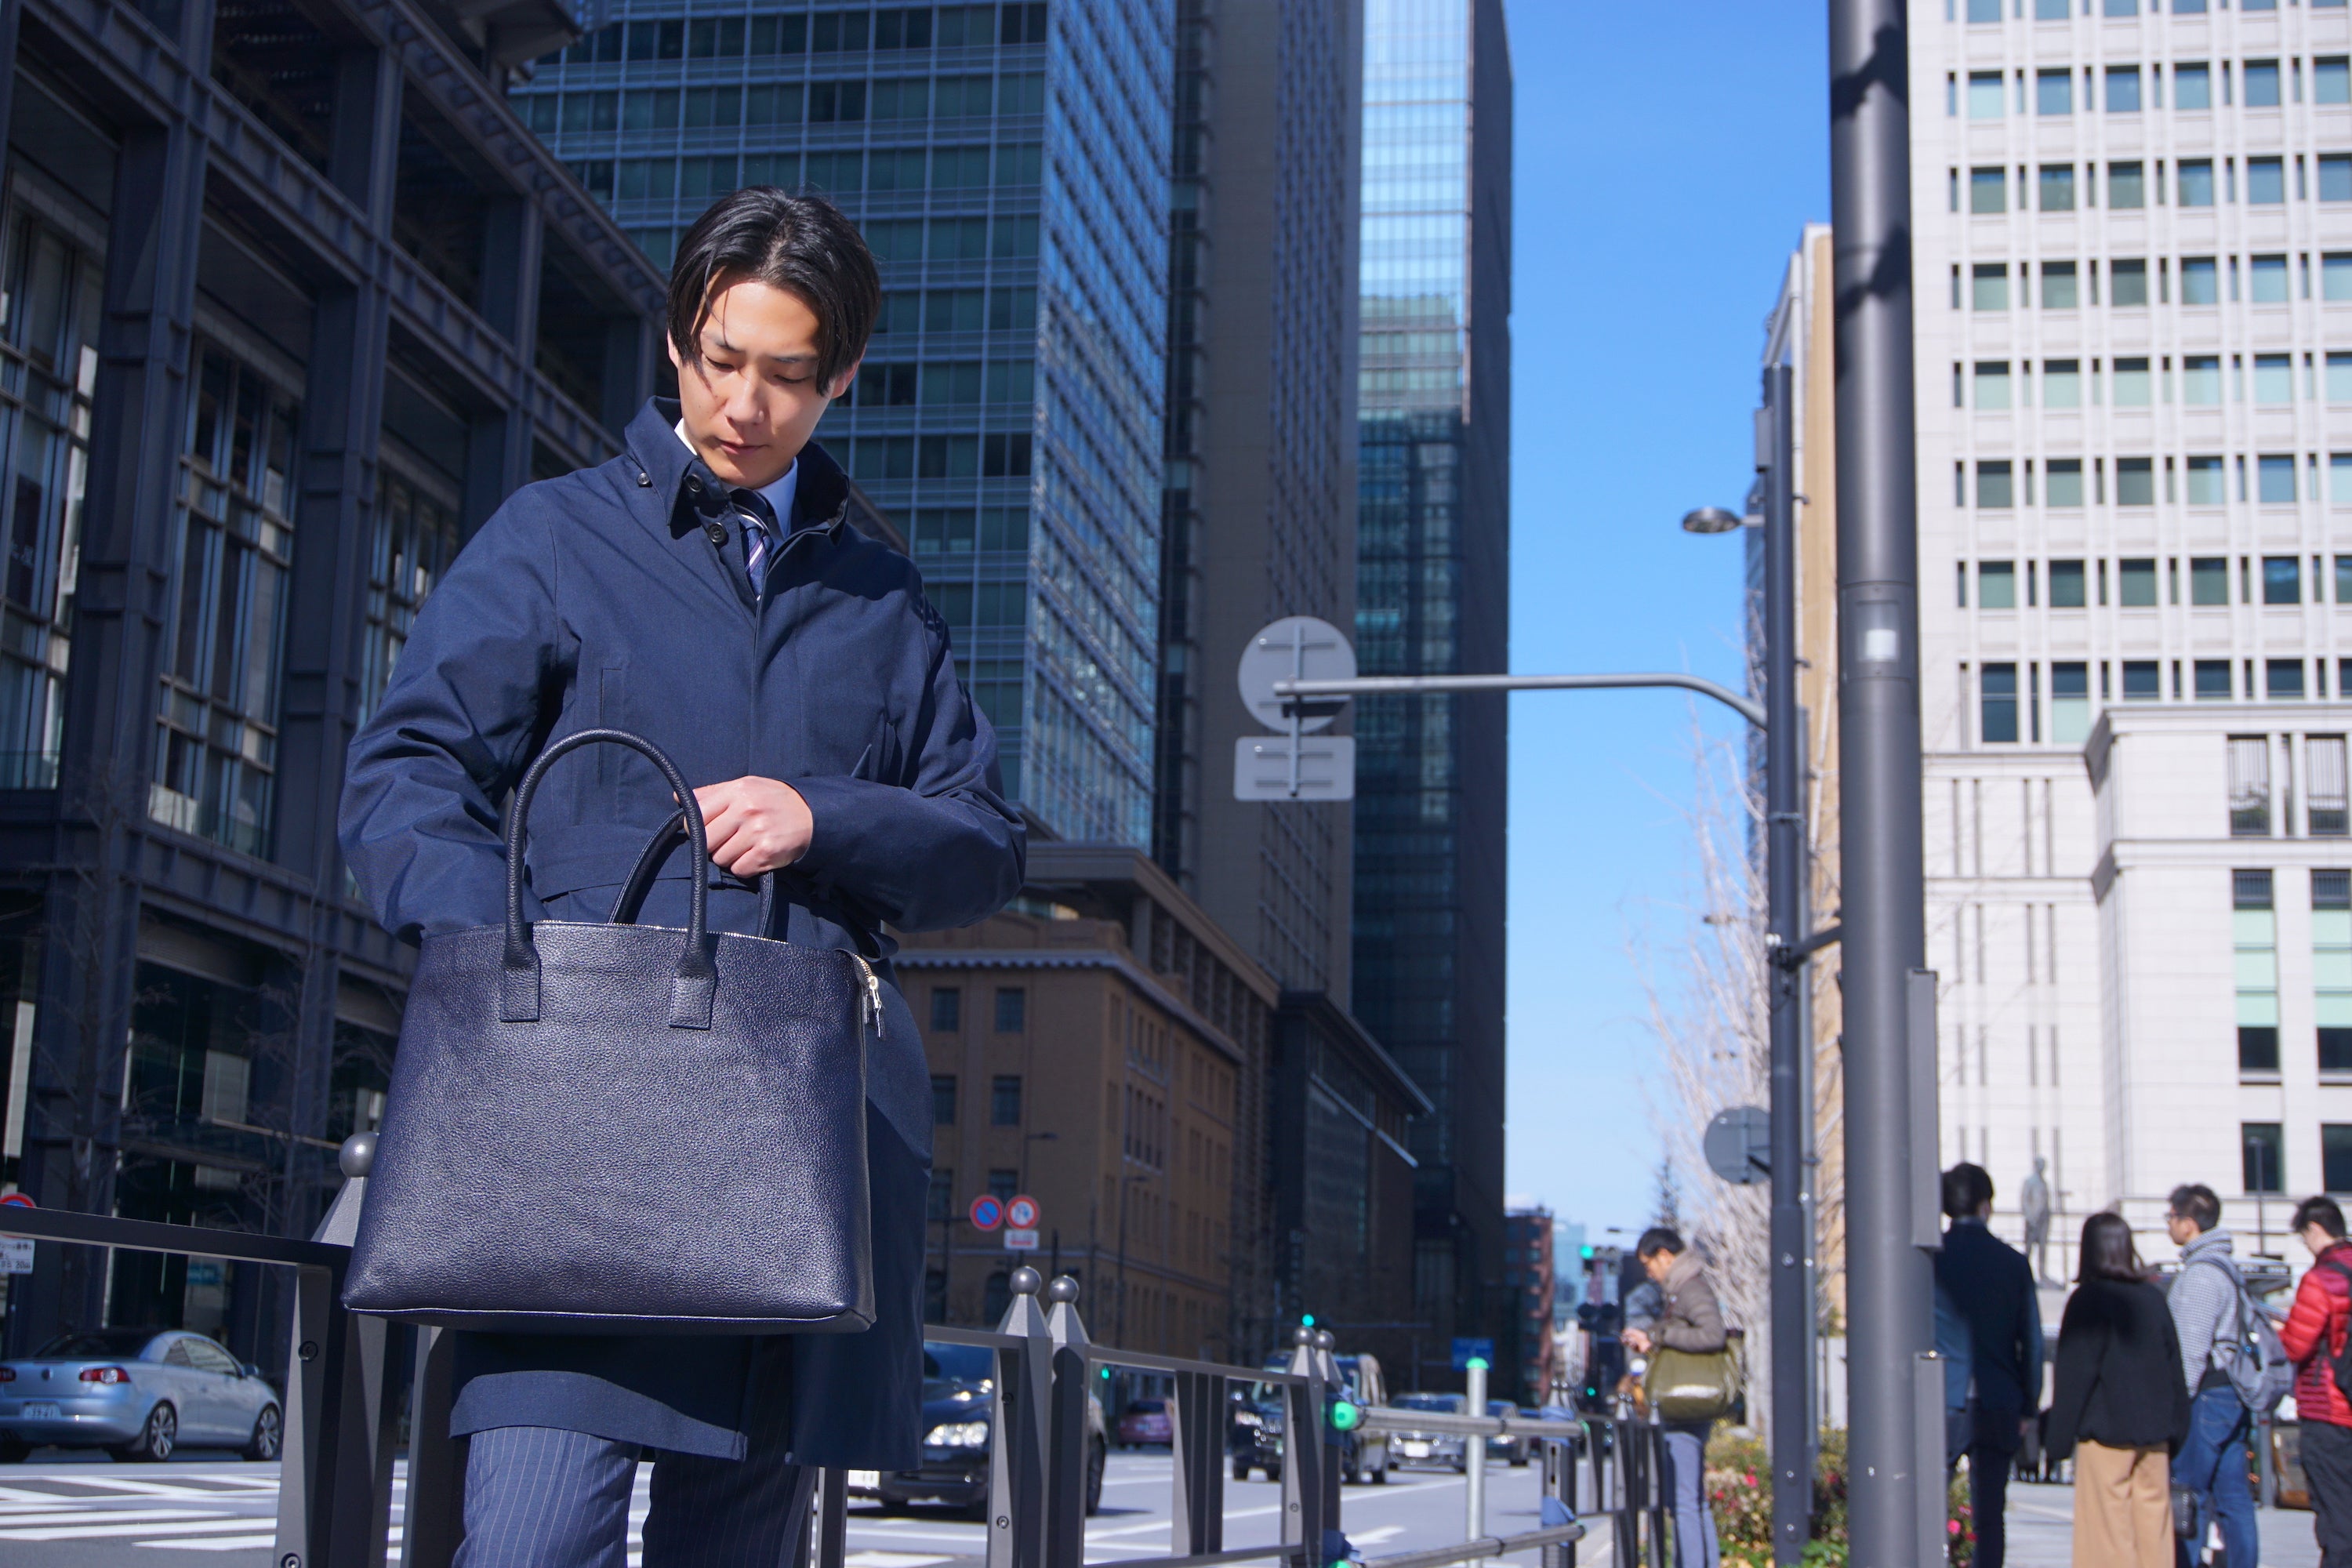
At HushTug, we pursue simplicity by not putting studs on the bottom of our leather totes and business bags.
・I would like bottom studs for my business bag. Can I add bottom studs later?
-Can I add bottom studs as an option?
We receive many inquiries like this.
This time, we will introduce a method that anyone can use to easily attach bottom studs to a business bag!
If you want to try adding bottom studs, please give it a try.
Things to prepare before installing the bottom tacks
We will introduce the tools you will need to attach bottom studs to your business bag.

1. Bottom studs <br>Please choose your preferred bottom studs.
This time, I chose antique gold bottom studs which are not too sparkly to attach to a black business bag.
The bottom studs come in a variety of colors and shapes, and the one in the photo uses ``Fujitaka Large: 8mm feet''.
→ See the bottom studs
There are also screw-type sets that can be easily installed with a Phillips head screwdriver.
→ Check out the bottom studs on Amazon
2. Hole punch <br>A tool used to make holes in leather to attach the bottom studs.
→ Check out hole punches on Amazon
3. Hammer <br>A hammer used to make holes with a hole punch.
The one in the photo has a rubber tip, but the force dissipates when you hit it, so we recommend using a wooden mallet or something similar.
→ Check out the mallet on Amazon
4. Rubber Sheet <br>This is a rubber sheet that is placed between the leather bottom and the lining to prevent holes from being made in the lining when using a hole punch. It is used when using a hole punch.
→ Check out the rubber sheets on Amazon
5. Sewing kit <br>You will need this when sewing the lining. You will mainly need sewing needles, thread, and thread cutters, so we recommend buying a set.
If you already have one for home use, use that.
→ Check out the sewing kit on Amazon
6. Timber <br>Use this to make holes in the bottom of the bag.
It is useful to have one as it will serve as a base when drilling holes. You can use a similar item as a base, but you will need something longer than the height of the bag.
As a guideline, it's good to have something that is at least 35 to 40 cm long.
→ Check out the lumber on Amazon
That's all you need.
There are quite a few things to purchase, but you can get everything for 6,000 to 7,000 yen.
There are also substitutes available, so if you would like to try installing bottom studs, please try gathering the items.
How to attach bottom studs to a business bag
Once you have gathered the necessary tools, start attaching the bottom tacks!
1. Decide where to attach the bottom studs

Decide where to attach the studs to the bottom of the business bag and how many to attach.
Generally, there are 4 to 5 bottom studs, and since we will be installing 5 this time, we will attach studs to 5 places : the 4 corners and the center .
First, determine the locations of the rivets to be attached to the four corners.
This time we will install it 2cm vertically and horizontally from the corner, but you can place it anywhere you like, so mark the location of your choice.
*You can use a ballpoint pen to mark the hole.

Once you have marked the four corners, determine the position of the center.
To find the center position, draw diagonal lines from each of the four marks and the center point where they intersect is the location of the fifth mark.
2. Drill holes where you marked
Once you have determined where to attach the bottom studs, the next step is to drill holes in the marked areas.
This time, since I don't want to make a hole at the bottom of the lining, I will untie a section of thread on the side of the lining and make a hole in the leather from there.
2-1. Untie the threads on the sides of the lining
 First, use thread cutting scissors to cut the lining threads.
You should unravel the thread long enough to fit the rubber sheet in, so 10cm to 15cm should be enough.
Once you have unraveled the section, you will need to sew it back together with different thread, so once you have unraveled 10 to 15 cm, make sure to end the thread properly so that it does not fray any further!
2-2. Prepare the bag by inserting the rubber sheet and drilling a hole in the bottom

Insert the rubber sheet next to the lining you just opened and bring it to the position of the mark you made on the bottom of the bag.
At this time, make sure there is a rubber sheet between the bottom of the bag and the lining as shown in the figure above.
Next, place a piece of lumber inside the bag to serve as a base for drilling the holes.
This will allow you to drill a hole in the bottom of the bag without drilling a hole in the lining.
2-3. Decide the size of the hole punch

Hole punches come in many sizes, so choose the appropriate one to fit the size of the feet of the bottom studs.
Match the feet of the bottom studs with the holes in the hole punch and use ones of about the same size.
If the holes are too small the studs won't fit through, so choose the right size!
2-4. Make a hole in the bottom of the bag

Now it's time to make a hole in the bottom of the bag.
Check that the rubber plate and the mark are in the correct position and use a hole punch to make holes.
Place the hole punch at the marked position and hit it with a hammer.

This will leave a hole in the bottom of the bag like this.
Now it's time to drill holes in the remaining four marks!
3. Attach the bottom studs

After drilling five holes in the bottom of the bag, attach the bottom studs.
The bottom studs used this time are the type that are fastened by hammering, so we will use a hammer.
The bottom studs are made up of two parts and are attached by clamping them to the bottom of the bag.
At this point, depending on the length of the bottom studs, the leather at the bottom of the bag may not be thick enough to hold the bag in place. 
In such cases, add thickness by placing extra leather or cardboard between the pieces as shown in the photo!
Once you have decided on the amount of thickness you want to add, insert the bottom stud through the hole you made and add the extra leather to the inside of the bag, then finally clamp it in place with the bottom stud fastener.
When clamping it, press it lightly with your fingers to fix it in place, so keep pressing until it is fixed.

Once it is lightly secured, tap it with a hammer to secure it completely.
Once you have confirmed that the bottom studs do not slip out of place, installation of the bottom studs is complete.
If you choose the screw-type bottom studs, there is no need to use a hammer to secure them; simply tighten the screws to complete the process.
4. Re-stitching the lining

Once the bottom studs have been installed, it's time for the final step!
First, sew back the sides of the lining that you unstitched first.
In order to make the seams as inconspicuous as possible, we will use a U-shaped stitching method.
The U-shaped stitch is a sewing method used when stuffed animals or drawstring bags are torn, and is recommended as it makes the sewing thread less noticeable.

To make a U-shaped stitch, the needle is inserted parallel to the joined lining fabric and the two pieces of fabric are sewn together alternately.

Once you have sewn a certain distance as shown in the photo, pull the thread once to make the thread invisible and allow for neat sewing.
Repeat this process until you have finished securing the thread!

If you don't know how to sew, just search for "how to sew a U-shaped stitch" and you'll find videos explaining it, so please check them out for more information!
The installation of the bottom studs was completed successfully.

What did you think?
This completes the process of attaching bottom studs to the business bag.
The internal construction of a leather tote is almost the same as a business bag, so you can attach the bottom studs to the tote bag using the same procedure.
As long as you have the necessary tools and instructions, you can easily install it yourself, so if you're interested, please give it a try.
Also, if you're someone who doesn't want to do it yourself because you're afraid of making a mistake, you can take it to a leather repair shop and they will install the studs for around 5,000 yen, so it might be a good idea to ask a professional.
This was quite a long post, but thank you for reading to the end.
HushTug Nakajima